Featured Tutorial

Flag Party Favor, Plus a Bonus Printable Stencil - FREE!

Okay, This is Cool

NEW SECTION – APP Appreciation: Knotch (Say it in Color)

Featured Riot Tip

The Cloud Light - Building It Better

Seasonal Tutorial: Winter Holiday

Winter/Holiday Themed tutorials to light up anyone's season!

Featured Artist: Sheila Haring

Winter Tree Nail Art

Sunday, November 11, 2012

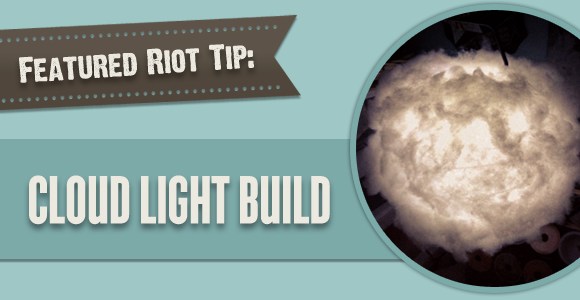
Riot Tip: Cloud Light - Building It Better


Riot Tip: Cloud Light - Building It Better


I recently tried to recreate this really awesome tutorial I found online about creating a "cloud" effect using Cotton Batting, a Circular Paper Lantern, a Glue Gun and a light source.

Well…my results using those exact materials did not create the desired effect.


The Lantern and Cotton worked out just fine, but the Glue Gun glue was just awful to work with. In fact it created this horrible monstrosity.
(Those black marks? That's the glue gun glue.)


So I had a new idea. 

Instead of Glue Gun, why not use ADHESIVE SPRAY
And you know what?
It worked fantastically.


The tutorial is pretty basic.

Take the Cotton batting and glue it to the Paper Lantern and then place your lighting source inside of the lantern. (I used an LED Tap light in mine).

So what I did was take the Cotton Batting and cut it into smaller strips, but instead of gluing it to the lantern with a glue gun, I used adhesive spray. 

It worked fantastically.

Once my strips where placed, I gently pulled at the cotton to create a wispy cloud effect and applied my light source.

Here are my results:


(Please let me know if you would like a tutorial on this and I will write one!)

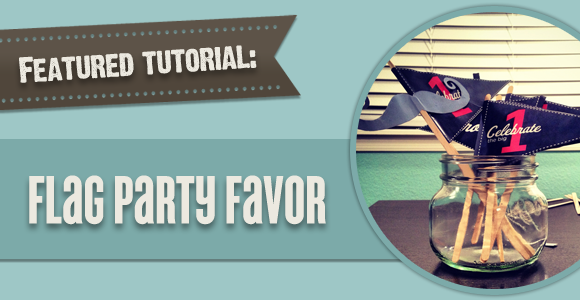
Tutorial: DIY Flag Party Favor


Tutorial: DIY Flag Party Favor

To celebrate my daughter's 1st Birthday, I'm really going out and making a huge deal about it. Which means, I'm going to throw her an awesome party and make sure that as much as I can create is all DIY. What does that mean to you? More tutorials! (Yeah!)

This tutorial goes over making Flag Party Favors to give your party, wedding, event, (etc.) gifts that bring a personalized touch to the festivities.


Since this tutorial is rather simple, I thought I'd go one step further and provide everyone with a PRINTABLE STENCIL of the exact stencil I used to make this.
Granted, I understand not everyone is able to print this out, so I've also provided the dimensions, so I really hope this helps.

Items Needed:
  • Provided Stencil: Flag Stencil of customized design of your creation
  • Chopstick (or popsicle, coffee-stirrer, pencil, basically any thing that is a slim tall object. I used a chopstick and a coffee stirrer for this demonstration)
  • Mod Podge
  • Paint Brush
  • Scissors (or Exacto Knife)


Step One:
Print out (or cut out if you are doing your design by hand) your design.
The stencil was created on an 11 x 8.5" layout, so print your document out at full size.


Step Two:
Using your scissors (or Exacto Knife) cut out the design from the stencil.
(For precision, I recommend using an Exacto Knife, but that's just a preference.)
 

Step Three:
Place your design on it's front (the side the design is on) so that the white blank side of the paper is facing upward.


Step Four:
Take your paintbrush and spread your Mod Podge down the center of your design. Make sure not to use too much or else you risk destroying your printout.


Step Five:
Place your Chopstick (or chosen item) on top of the painted center and secure it to the glued paper.


Step Six:
Now that you have a center, use your paintbrush to coat one side (left or right, either is fine) of the flag with Mod Podge.


Step Seven:
Fold the two sides of the flag together and flatten around the Chopstick.


And you're done!


(BONUS STENCIL!)
Because this was so much fun to do, I did another party favor with Moustache stencils!!


Click the link below to retrieve this BONUS Moustache stencil!


Friday, November 9, 2012

News: Stardate 110912


Happy November Crafters!!
Who's ready for Fall and Winter crafts?


(Yeah, I know it's been Fall since September, but I'm from Arizona and it's been 95 degrees outside everyday and it's finally cooling off.)


Just wanted to do a quick update for everyone before I go to bed...ack!

I know a lot of you are probably sick of seeing the same "Features" on the carousel scrolling through day in and day out...okay maybe not, but I know I am.
Anyway, I will be updating those soon. I just want to get enough content in order to do them all at once. However, that may prove to be rather difficult so I may just end up doing one as soon as it comes in after all.


I am excited to announce that I should be having 3 new Featured Artists to introduce to everyone, hopefully within the next few weeks. I have talked to some VERY talented ladies and they are very excited to add their crafting genius to DIYRiot.

Also, Miss Theresa (Nacho) Montiel has created a PART 2 to her tutorial and will be sharing that with us very, very soon!

Side note, I might be absent for the next few days out as I will be trying to create an awesome 1st Birthday Party for my sweet, sweet daughter. 
Fear not, it will be all DIY Crafty goodness, and I will most definitely be documenting my processes to share with you all!

Hope everyone had an awesome Halloween!!

-Ciao for now-

Rhi Riot

Twitter Delicious Facebook Digg Stumbleupon Favorites More